Beeswax Food Wrap
This sustainable, non-toxic food wrap is something you can feel good about having in your home. Not only is plastic wrap wasteful, it is also not good for our environment or bodies. Using plastic wrap, and plastic products in general, are not conducive to health and wellness because of their carcinogenic and endocrine disrupting nature. Utilizing pieces of fabric infused with natural beeswax as an alternative is something I can definitely be on board with!
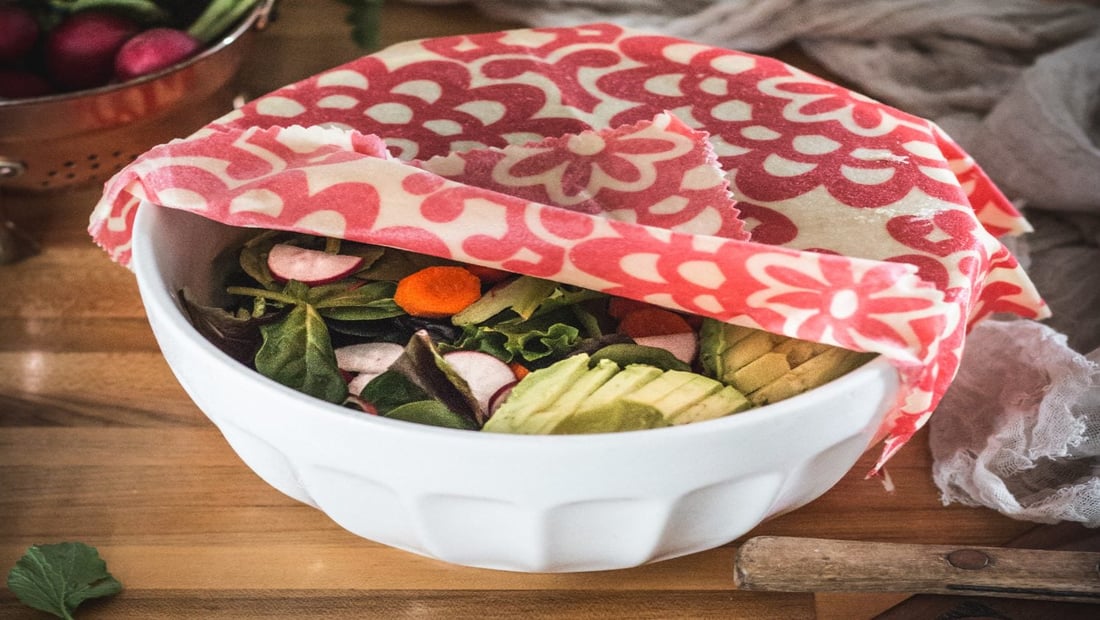
These food wraps are perfect to use in place of plastic wrap or plastic baggies. They are easily folded around foods, snacks, leftovers, or taking a dish to go. Keep in mind these wraps are not necessarily 100% airtight. However, the heat from your hands pressed around the edges of the food storage containers can create a decent seal.
I used pine resin and jojoba oil for my food wraps to make them more supple as well as increasing their cling. These ingredients are optional. If you choose to use pine resin, take care to just use a little bit. Also, if it spills, it can be a bit of a pain to clean up. Ask me how I know 😉
While this project is perfect for a rainy or cold winter day, I realize “do it yourself” projects are not appealing to everyone. In that case, there are lovely non-toxic, sustainable options to purchase online. Additionally, bars of natural food wrap mixture that includes beeswax, pine resin, and jojoba oil can be purchased online. This can save some time and shopping.
SUPPLIES
— Pinking shears or scissors
— Organic cotton fabric
— Iron
— 1 cup of beeswax, pellets or grated
— 3 tablespoons of pine resin
— 2 teaspoons of jojoba oil
— A disposable aluminum baking pan
METHOD
1. Wash and dry the fabric you’ve chosen. Iron, if needed.
2. Cut the fabric into your desired sizes. I like using 12×12 for snacks and to cover many dishes that I have in my kitchen. Consider what bowls and vessels you want to cover with the food wrap and place them face-down on the fabric. Trace them, allowing for 1-2 inches of overlap. Using pinking sheers to cut helps the fabric to not unravel or fray in the future.
3. Preheat the oven to 200 degrees.
4. Place the beeswax, pine resin, and jojoba oil in the baking pan.
5. Place the baking pan in the oven to allow the ingredients to melt. Check and stir often, these ingredients can burn and are flammable if they become too hot.
6. When the beeswax mixture is fully melted and combined, remove from the oven. Carefully dip fabric pieces into the mixture one at a time. Allow the excess beeswax to drip off.
7. These wraps only take a about 10-15 seconds to dry. I just hold them in the air over the pan to catch any drips. Once beeswax is firm, set the wrap to the side.
8. Repeat this process until you are finished with the project.
9. Store the beeswax wraps rolled up until ready to use.
Use these food wraps to cover dishes, wrap up bread, cheese, snacks, etc. Avoid using them to store meat.
Be sure to clean your beeswax food wrap in lukewarm soapy water.
Sign up for the Family Christian Newsletter
Inspiration & Practical Tips for Experiencing Simple Moments with Jesus


