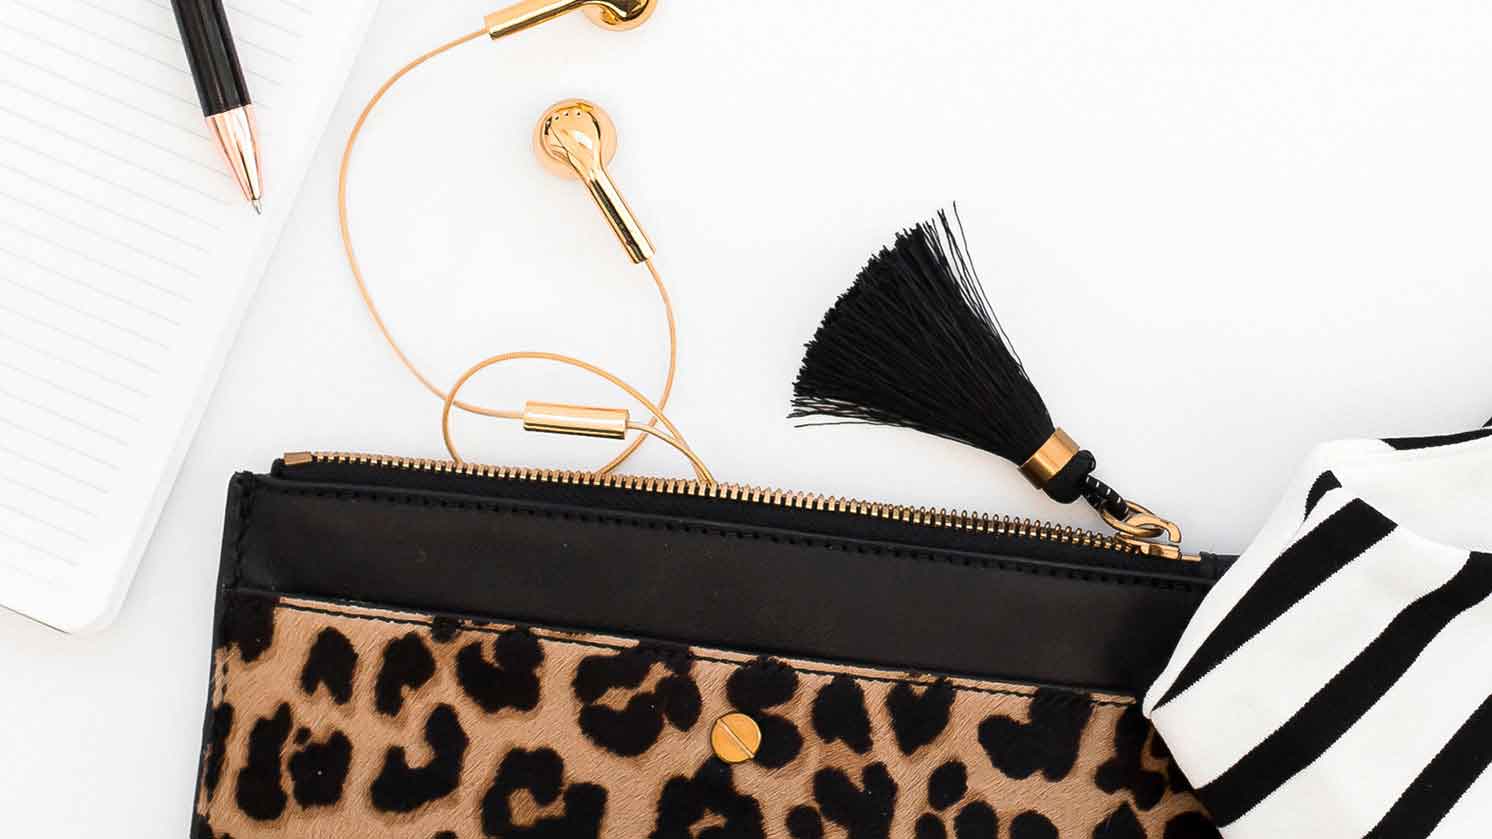
A Quick Tassel Tutorial
We had such a fun night learning the basics of how to make tassels and assemble a gorgeous pair of tiered tassel earrings with Alicia from a.m. jewels. If you missed this workshop, here are a few tips on how to make your own tassels. Dream big and use them anyway you can imagine!
What you’ll need:
— Embroidery thread
— Sharp Scissors
Steps:
- Take the paper off your embroidery thread and cut the entire piece of thread in half. Each embroidery skein will make two short tassels.
- Now that you have two halves of thread, pull out two pieces of string from each half. This will give you four separate strings for tying and securing your tassel.
- Lay each half on a work surface to make it easy for tying. Tie each embroidery bundle exactly in half with a tight basic double knot.
- Pull the ends of the thread upward and downward, cut through the looped ends, and fold it in half to adjust it into a tassel shape.
- Hold your tassel tightly, take your other piece of loose string and begin wrapping it around the head of the tassel. Tie another double knot to secure it and snip the ends closely. Secure with a drop of super glue to secure it even further.
Voila! You have a cute mini-tassel. These are so easy to make and the possibilities are endless.
Get creative and change up your materials. You can make tassels with suede, silk, leather, tissue paper – whatever you can think of! Use them in home-decor projects, to make jewelry, for party decorations or to make fun key chains!
We can’t wait to see what you make. Please share them with us on Instagram @makeanddocommunity and @amjewels!
Sign up for Family Life updates!
Get weekly updates from Family Christian on all things Family Life!


